
Table of Contents
Easy Mermaid Craft for Kids | Under the Sea Terracotta Pot Craft
There’s something magical about seeing a craft come to life—and this one truly stopped us in our tracks.
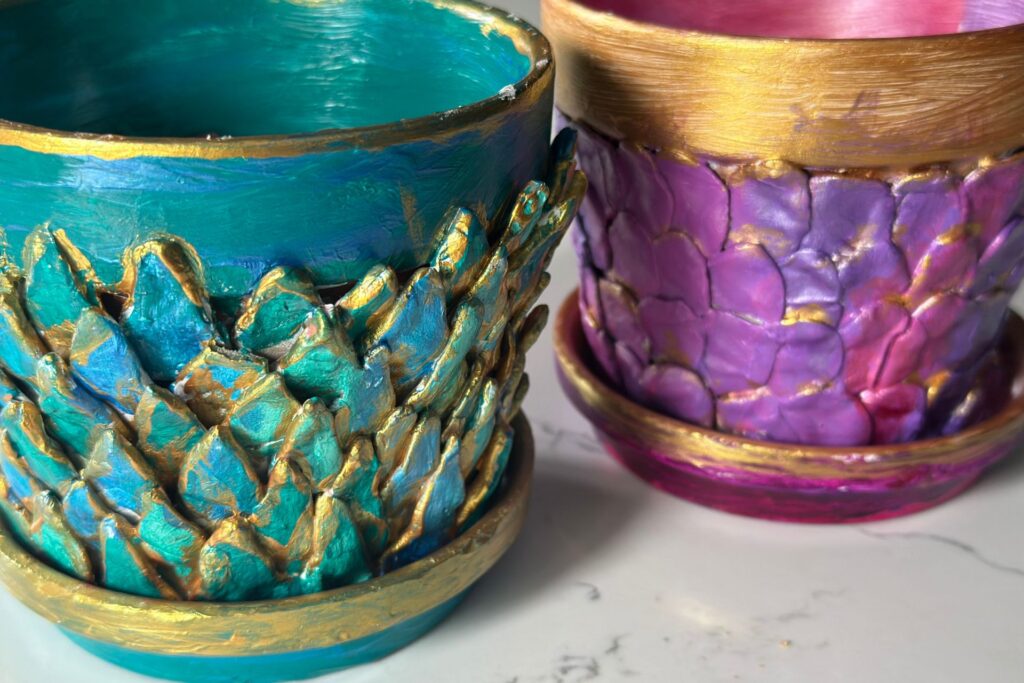
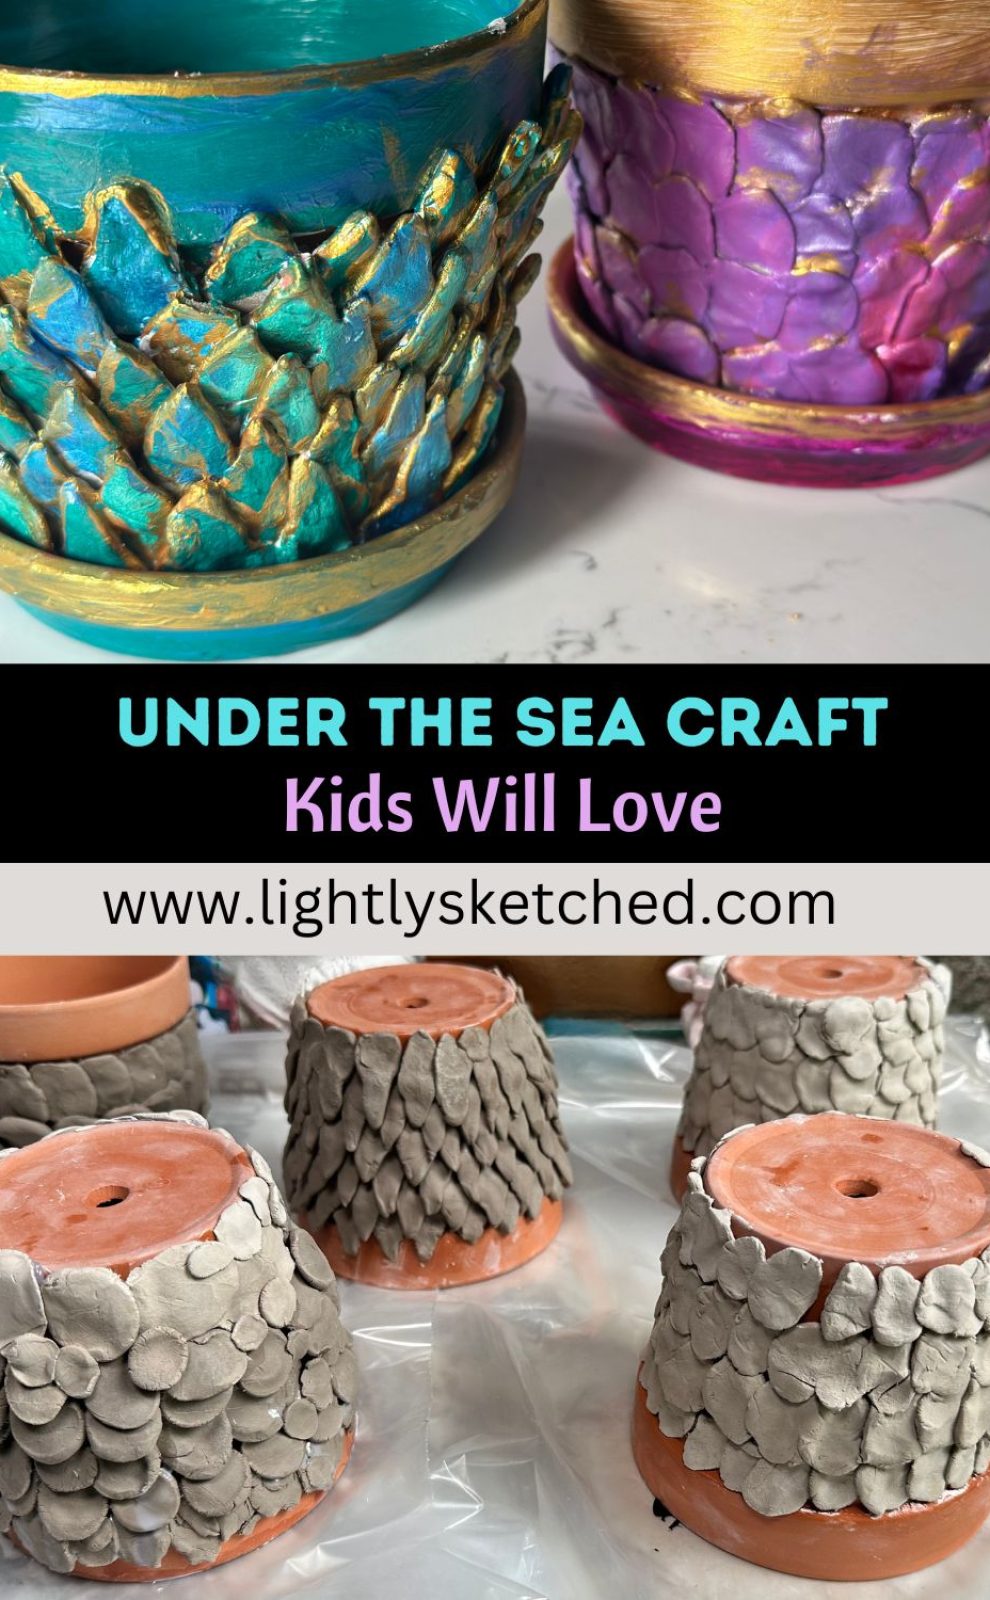
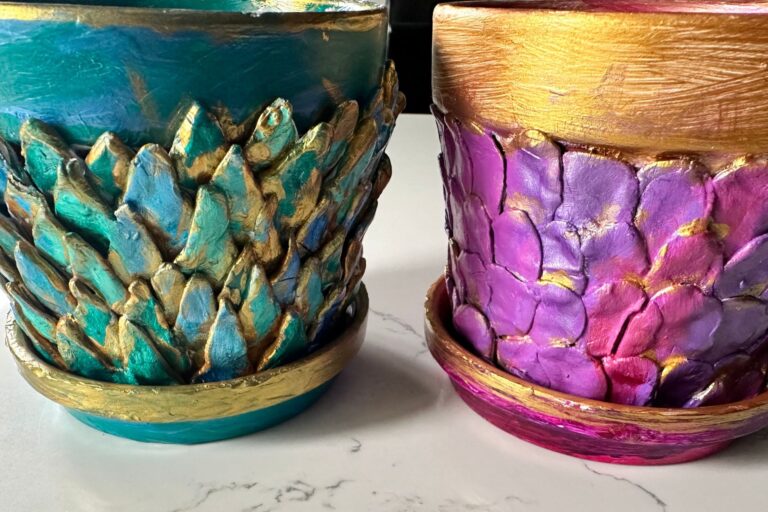
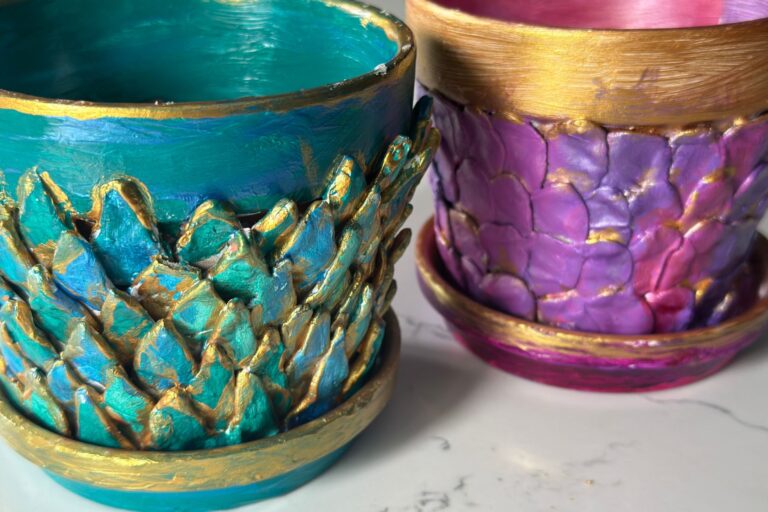
For the past 2 years I’ve completed this easy mermaid craft for kids project during my art camp as part of our Under the Sea week, and the results? Absolutely stunning. A simple terracotta pot was transformed into a textured, shimmering mermaid masterpiece—and every single one turned out completely unique.
These mermaid-themed terracotta pots are surprisingly easy to make, incredibly engaging for kids, and honestly… total show-stoppers. The kind of craft that makes kids proud, sparks creativity, and has everyone asking, “Wait… how did you make that?”
Why You’ll Love This Mermaid Craft
If working with clay isn’t your area of expertise, no worries! This activity is easy enough for beginners.
But this isn’t just another craft—it’s one of those activities that feels special from start to finish.
- Low prep, high impact
- Hands-on and calming (perfect for busy classrooms or summer days)
- Builds fine motor skills through shaping and layering
- Encourages creativity, texture, and design choices
- Creates a finished piece kids are genuinely proud of
This post may contain affiliate links and I may earn a small commission when you click on the links at no additional cost to you. As an Amazon Affiliate, I earn from qualifying purchases. You can read my full disclaimer here.
Here are a few other fun activities that are perfect for home and the classroom:


Do you love to draw Zentangle patterns?!
Are you trying to find ways to incorporate self-care and creativity into your life? Would you like to introduce the Zentangle Method to your children or students but you’re not sure how?
If you answered yes to any of these questions then you’re going to love our new Zentangle Basics course. Unlock your creativity and experience the relaxing art of Zentangle.
Zentangle is a powerful way to relieve stress, boost creativity, and enjoy mindful drawing. Watch the course overview now and take the first step toward unlocking your artistic potential!
How to Make Your Mermaid Terracotta Pot
Appropriate for Children Ages 6 and up
Difficulty: Easy
Total Time: 4 x 30 minutes
Materials:
- Terracotta pots (any size)
- Air drying clay from any dollar store (we used grey)
- Elmer’s liquid glue that dries clear
- Container with water
- Paint brushes
- White acrylic paint/primer
- Acrylic paint in a variety of colours
- Metallic acrylic paint
- Plastic tablecloth to cover your workspace (optional)
Instructions:
Step 1 – Prep your space
Cover your workspace with a plastic tablecloth or parchment paper. This craft can get a little messy—but that’s part of the fun.
Step 2 – Create Your “Scales” and Glue Them Onto Your Pot
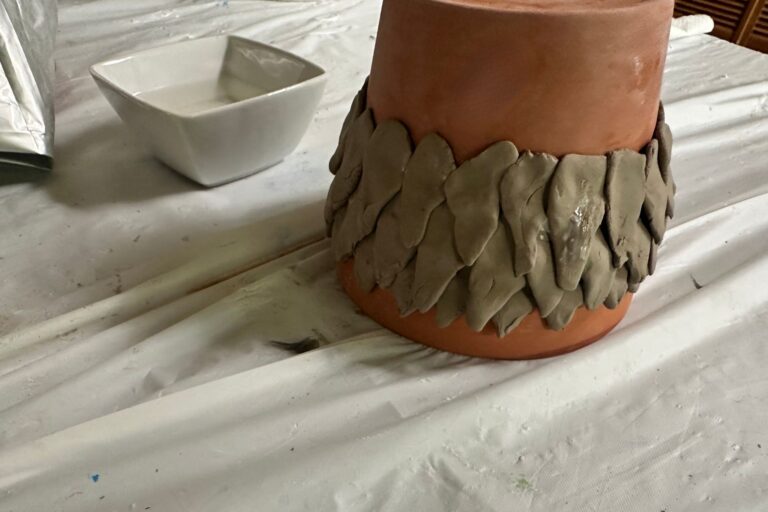
Take small pieces of air-dry clay and roll them into oval or teardrop shapes.
These will become your mermaid scales!
Encourage kids to:
- Try different sizes
- Add gentle texture with their fingers
- Keep pieces slightly thick so they hold their shape
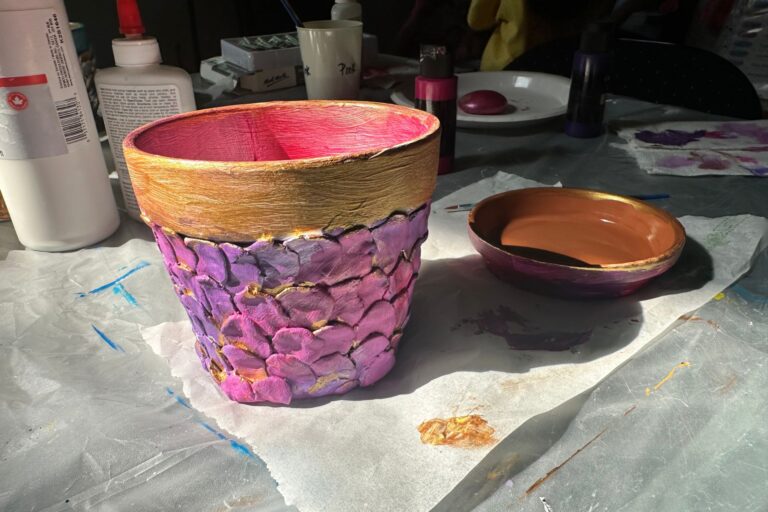
Apply a thin layer of glue to a small section of the terracotta pot.
Press the clay pieces onto the surface, slightly overlapping them to create that classic scale effect.
TIP: start at the bottom and work your way up—it helps create a natural layered look.
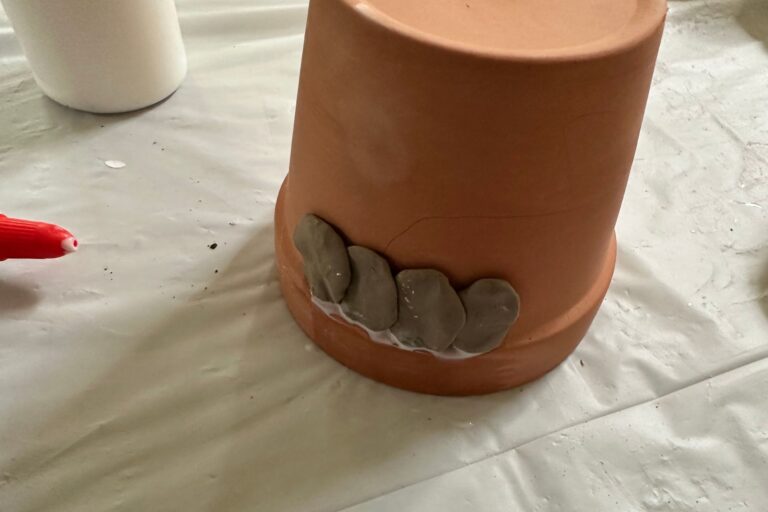
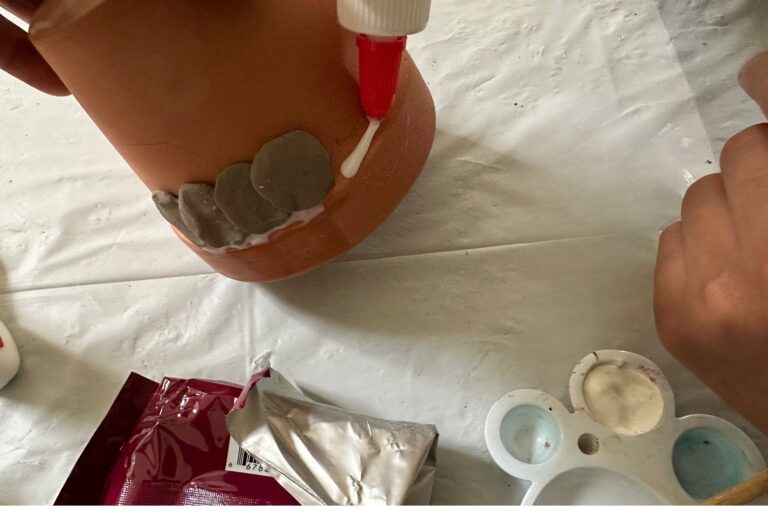
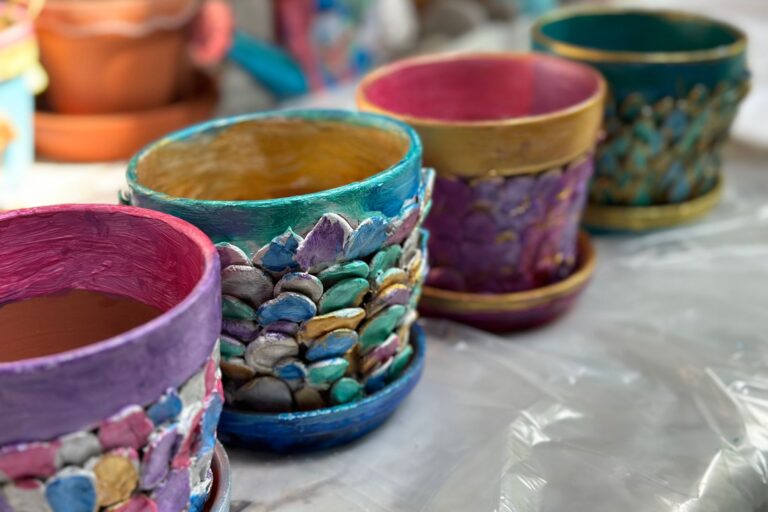
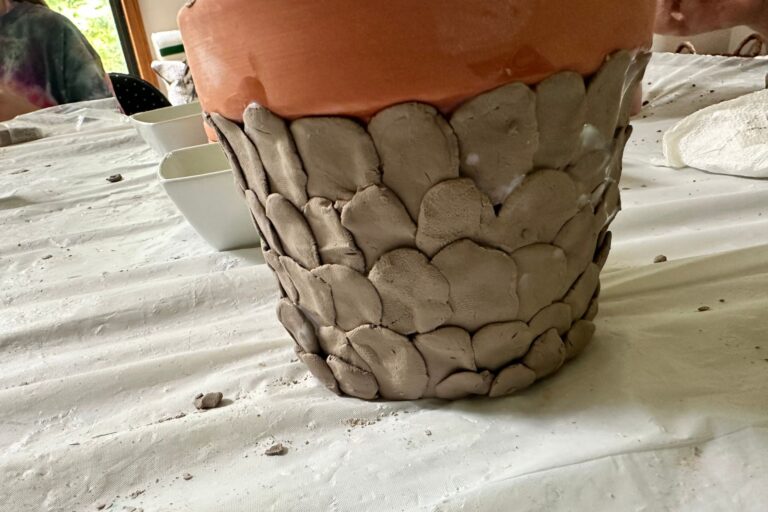
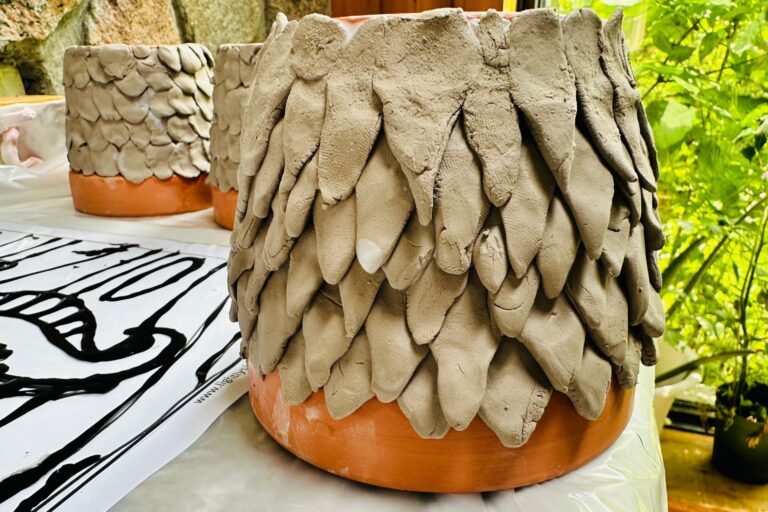
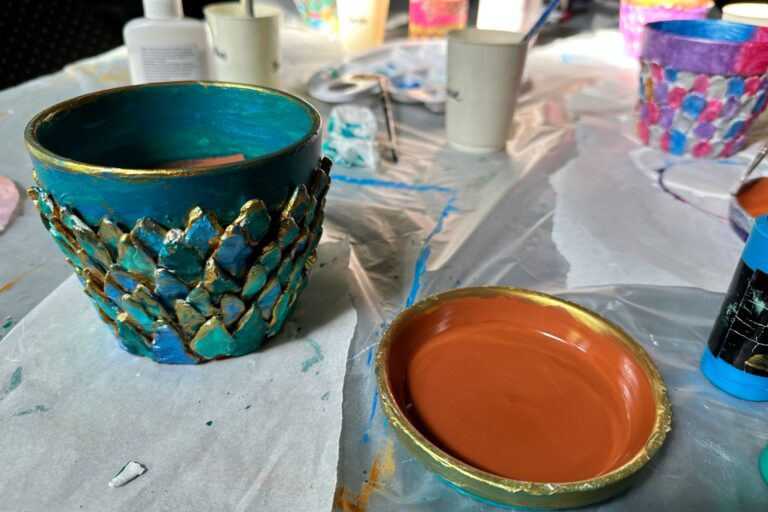
Here are a few other types of scales that my campers created…
Step 3 – Let the Clay Dry
Allow the clay to fully dry before painting. This usually takes 12–24 hours, depending on how thick the pieces are.
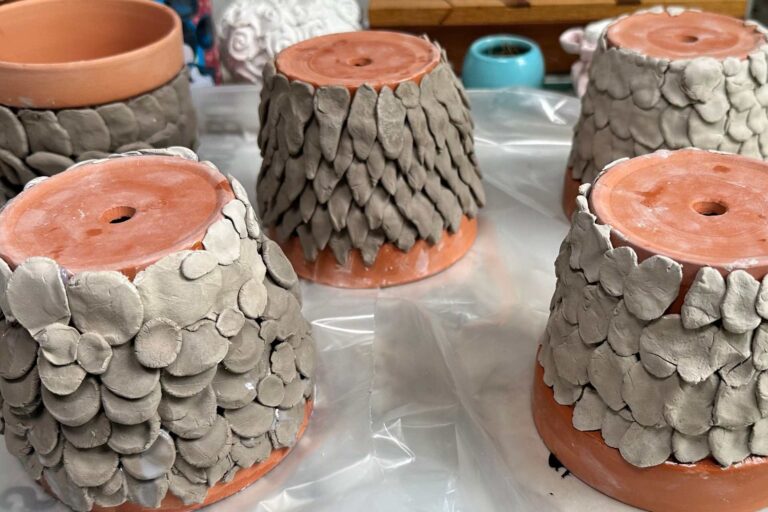
Step 4: Add a Base Coat (Optional but Recommended)
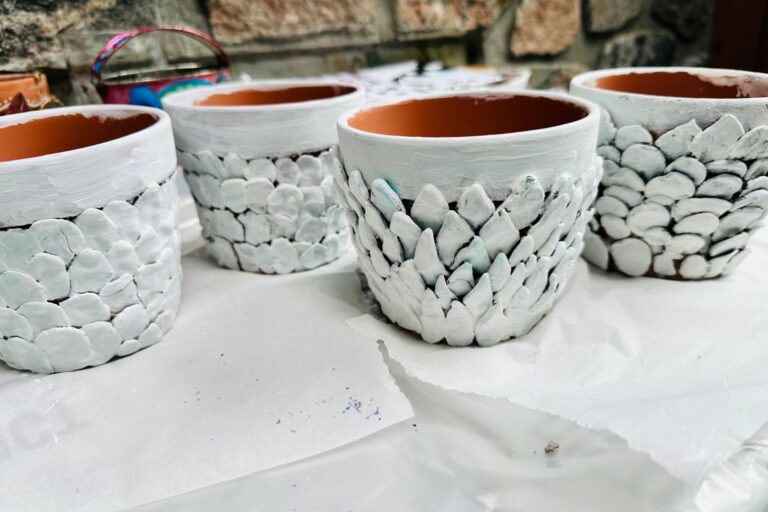
Paint the entire pot with a base coat (white works best). We used white acrylic paint for our base coats.
This step really makes your colors pop and gives the finished piece a clean, polished look.
Step 5: Paint Your Scales
This is where the magic really happens.
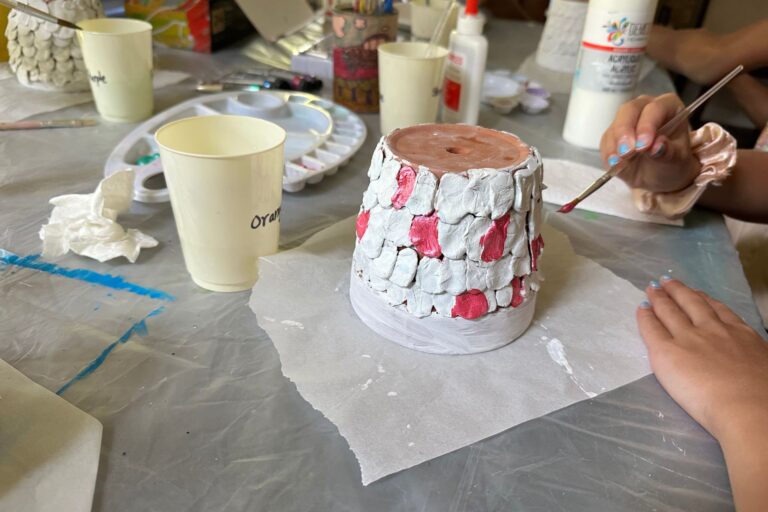
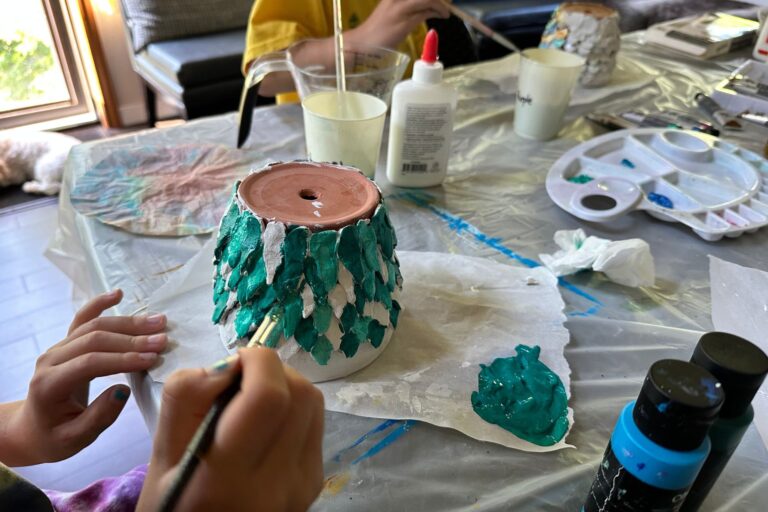
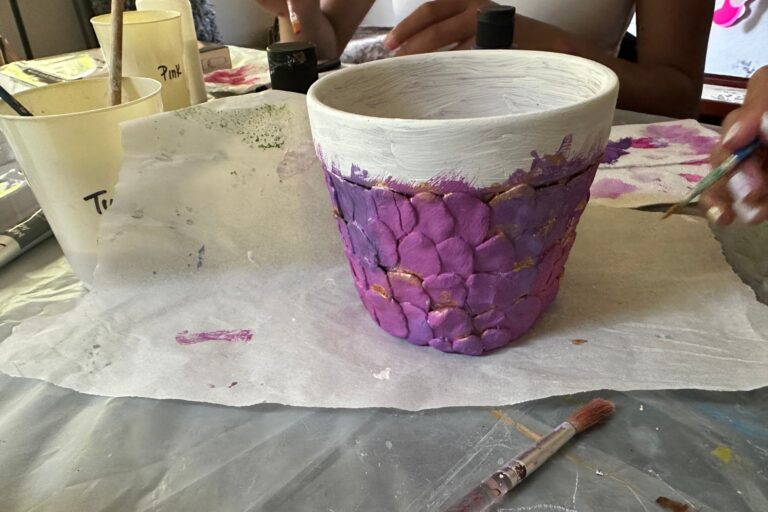
Kids can explore:
- Ocean blues and seafoam greens
- Soft pastel mermaid tones
- Bright, bold rainbow palettes
- Metallic accents for that extra shimmer ✨
There’s no right or wrong here—every design turns out beautifully different.
Step 6: Add Finishing Touches
Once everything is dry, you can:
- Highlight edges with gold or metallic paint
- Add extra details to individual scales
- Paint the rim in a contrasting color
- Paint the tray
These small touches take the craft from cute to wow.
Tips for Success
- Work in small sections so the glue doesn’t dry too quickly
- Keep clay pieces manageable—smaller pieces are easier to layer
- If your clay starts to dry out, put a little water on your finger tips
- Don’t aim for perfection—texture is what makes this craft stand out
- Small cracks? Totally okay—they add to the under-the-sea look
PRO TIP: Using a paint bush, add a layer of clear drying glue to your flower pot once the paint is dry. This will make your pot more durable and prevent flaking.
Learning Connection (Perfect for the Classroom)
This craft fits seamlessly into both classroom and camp settings.
It supports:
- Fine motor development
- Creative expression
- Pattern and texture exploration
- Open-ended art experiences
It pairs perfectly with:
- Ocean or marine life units
- Summer themes
- Creative writing (underwater stories, mermaid adventures!)
Final Thoughts
If you’re looking for an easy mermaid craft for kids, or a fun spring/summer activity that feels just a little extra special, this is it.
It’s simple to set up, incredibly engaging, and the final result? Genuinely impressive.
And the best part… no two pots ever look the same.
Here are some other activities that your kids will love!:
Looking for even more cool activities? You might be interested in our Floral Paper Globes. Click here or the image below to learn more.
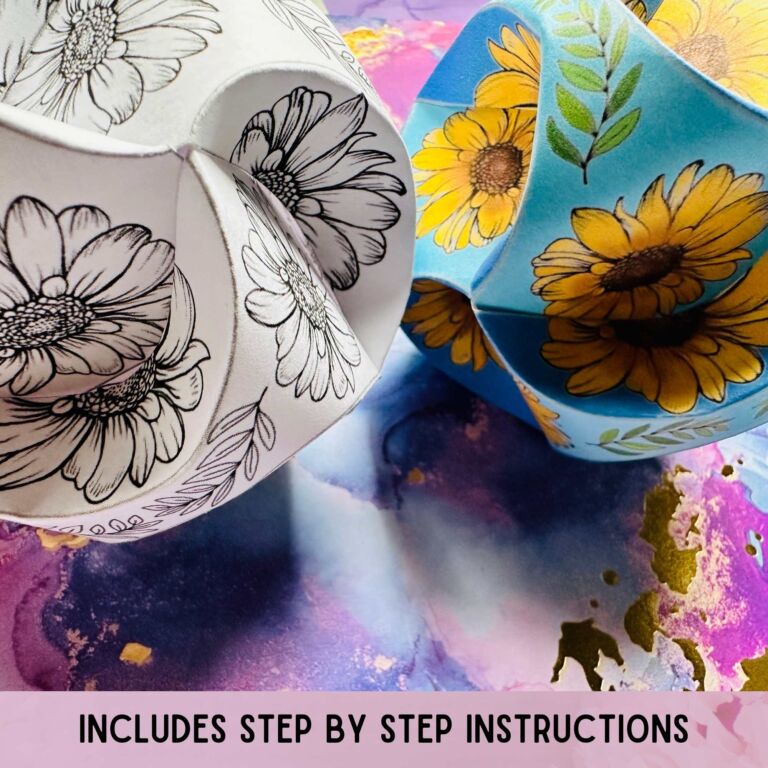
If you love zentangles as much as we do, you’re going to love our zentangle paper globes. Click HERE to check it out or click on the images below.

Final Thoughts
If you’re looking for more activities designed to encourage mindfulness and spark creativity, check out my printable resources below or visit my shop!


Don’t forget to download our free 15 page Mindfulness coloring book to help add a few mindful moments to your child’s day. Just click here or the image below!
