“I sometimes think that there is nothing so delightful as drawing.”
Vincent Van Gogh Tweet
Table of Contents

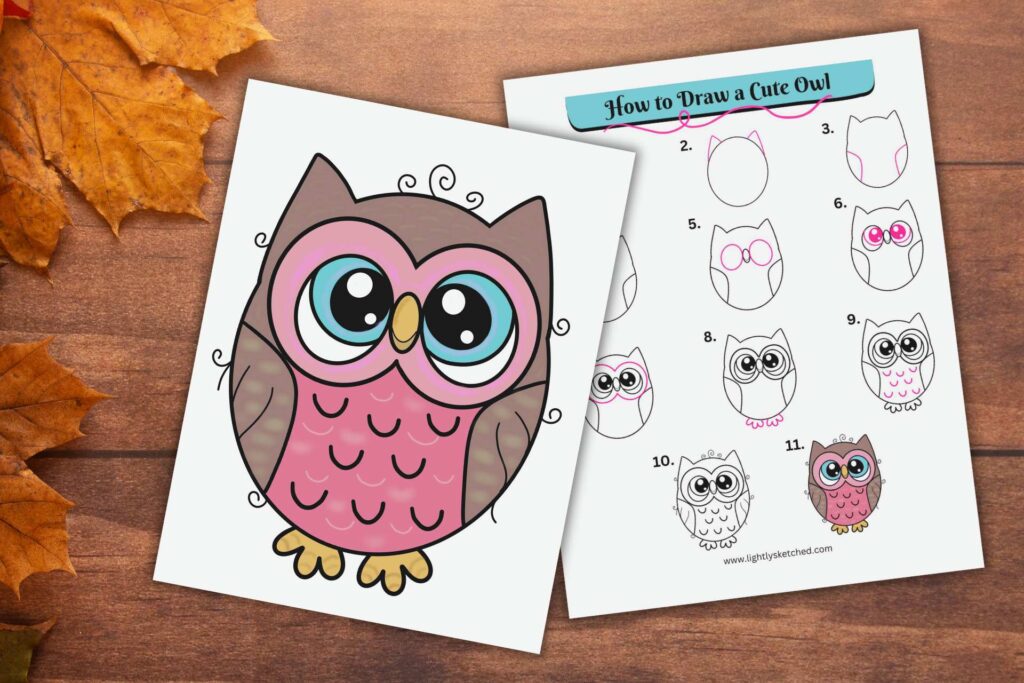
Owl Drawing Step by Step: How to Draw a Cute Owl
Drawing an owl can seem tricky, but with this owl drawing step by step guide, you’ll be creating an adorable owl in no time! Whether you’re new to drawing or looking to refine your skills, following a step-by-step tutorial is the best way to improve. By breaking down the process into simple, manageable steps, you build confidence as you go—and your cute owl will come to life right before your eyes!
This drawing tutorial comes with a directed drawing activity sheet that will show you how to draw this owl step by step. You can simply print it and use it as a guide while you draw.
Scroll down to download our free drawing guide for this cute owl!

Why Use Step by Step Drawing Guides?
Drawing can feel overwhelming if you don’t know where to start. That’s why step by step drawing guides are so beneficial! These guides help you focus on one simple part of the image at a time, making the whole process feel much more approachable.
You’ll gain a sense of accomplishment as you complete each stage and develop a deeper understanding of how shapes work together to form a finished drawing.
Step-by-step tutorials also help you avoid common beginner mistakes by guiding you in the right direction with clear, easy-to-follow instructions. And in the case of this owl drawing, you’ll be able to turn a few simple shapes into a cute and cuddly owl.

This post may contain affiliate links and I may earn a small commission when you click on the links at no additional cost to you. As an Amazon Affiliate, I earn from qualifying purchases. You can read my full disclaimer here.
Here are a few other fun activities that you’ll also enjoy:


Our new Zentangle course is here!
Are you trying to find ways to incorporate self-care and creativity into your life? Would you like to introduce the Zentangle Method to your children or students but you’re not sure how?
If you answered yes to any of these questions then you’re going to love our new course. If you haven’t had a chance yet to watch the course overview video, check it out below!
Now, let’s jump right into the drawing tutorial! I truly hope you enjoy drawing this cute owl as much as I did. Happy drawing 🙂
Step by Step Tutorial
Appropriate for Children Ages 5 and up
Difficulty: Easy
Total Time: 20 minutes
Materials:
- Owl Drawing Guide (Optional)
- Micron Pens for outlining your owl, or you could also use Ultra Fine Point colored Sharpie markers/fine tip markers
- White Cardstock or blank paper (8 1/2 X 11)
- Pencil for drawing
- Markers/pencil crayons etc. for coloring (optional)
- Eraser
Instructions:
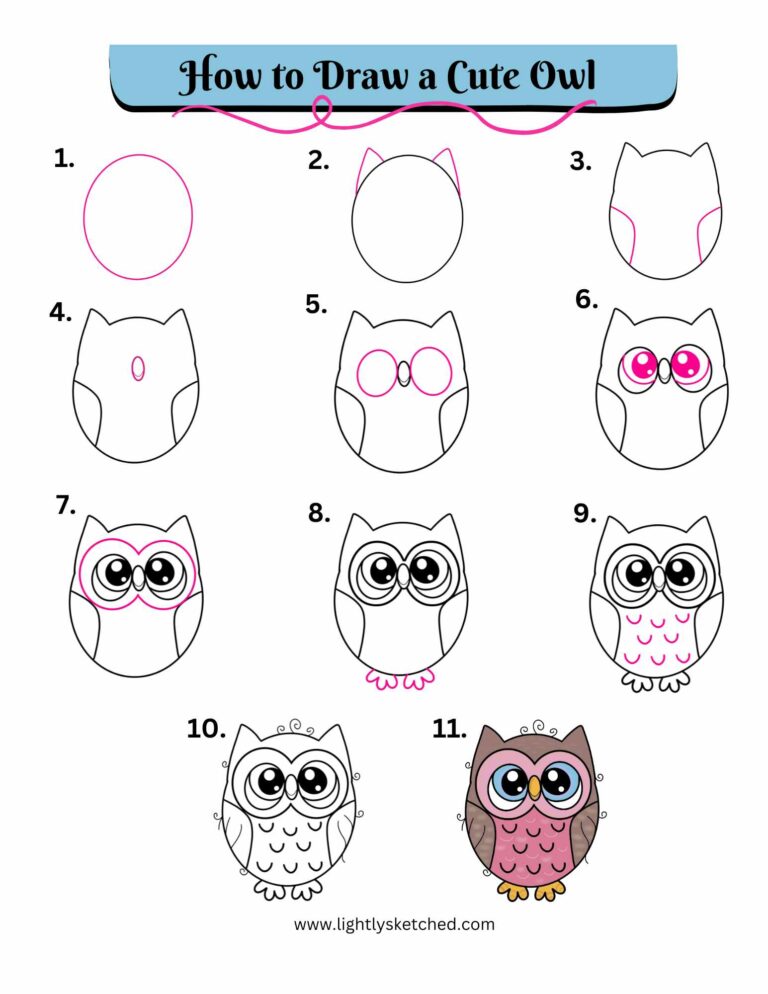
Step 1 – Draw the head.
Draw an oval for your owl’s head.

Step 2 – Draw your owl’s ears.
Draw 2 triangular shapes near the top of the oval for the ears. Erase the connecting lines between the triangular shapes and the oval (see step 3).

Step 3 - Draw your owl's wings.
I drew simple curved lines for the wings.

Step 4 - Draw your owl's beak.
Draw a thin oval, just above your owl’s wings and centered.
Inside of the thin oval, draw a thin “u-shaped” line to create the lower part of the beak.

Step 5 – Draw your owl’s eyes.
Draw 2 circular shapes on either side of the beak.

Step 6 – Draw the details inside of the eyes.
You can experiment with different types of eyes. I kept the eyes of this owl very simple but you can add lashes etc.

Step 7 – Outline the eyes with 2 larger circular shapes.

Step 8 - Draw two super cute feet.

Step 9 – Add a few feathers on the chest.
You can draw a few “u- shaped” feathers on your owl’s chest.

Step 10 – Add a few swirly feathers.
You can add a few wiggly lines on the wings and spiral lines around your owl to add some feathered texture.

Step 11 – Color (Optional)
You can color in your owl using any media of your choice. Pencil crayons, markers and paint are always great choices for kids.
You can also add Zentangle patterns to your owl to create beautiful details.

Step 12 – Enjoy and share!
Learning to draw with a step by step owl drawing guide not only helps you improve your art skills, but also gives you a sense of accomplishment as you bring a cute, whimsical character to life. Don’t forget to download the free PDF for an easy reference, and most of all, have fun with your creative journey!
If you draw this owl with your kids or students, please let me know! I’d love to add your creations to our gallery, so upload your photos or send them directly to me at: [email protected] Thank you!
You can also tag us if you post your masterpieces on Instagram or Facebook.

Creative Ways to Use Your Cute Owl Drawing
Now that you’ve created your own adorable owl, here are some fun ideas for what you can do with it:
- Coloring Pages: Make a copy of your drawing and use it as a custom coloring page. It’s a great way to practice coloring techniques!
- Wall Art: Frame your finished owl drawing and display it in your room or gift it to someone special.
- Greeting Cards: Shrink your drawing down to card size and use it for homemade greeting cards. An owl drawing adds a personal touch to birthday or thank-you cards.
- Stickers: Scan your owl drawing and turn it into stickers by printing it on sticker paper. Perfect for notebooks, laptops, or scrapbooks!
- T-shirt Designs: If you want to get really creative, you can print your owl drawing on fabric and make your own custom t-shirt design. Owls never go out of style!
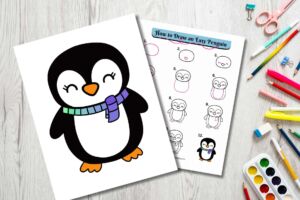
Here are some other drawing tutorials that you’ll want to check out!:
Looking for even more cool owl activities? You might be interested in our 30 FREE owl coloring pages. Just click HERE or on the image below to learn more.

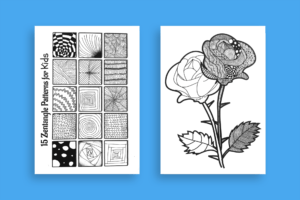
If you love zentangles as much as we do, you’re going to love our zentangle pyramid activity. Click HERE to check it out or click on the images below.

Final Thoughts
If you’re looking for more activities designed to encourage mindfulness and spark creativity, check out my printable resources below or visit my shop!


Don’t forget to download our free 15 page Mindfulness coloring book to help add a few mindful moments to your child’s day. Just click here or the image below!
