"Drawing is the root of everything."
Vincent Van Gogh Tweet
Table of Contents

How to Draw a Simple Butterfly - An Overview
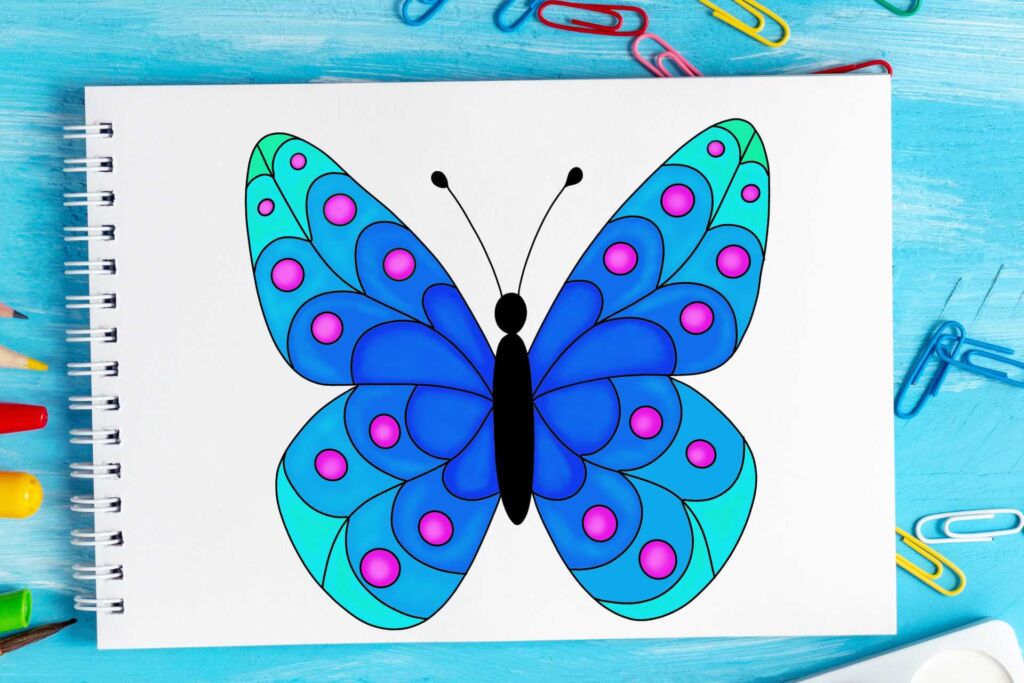
This blog post is going to teach you how to draw a simple butterfly step by step. Exciting right?! With spring upon us and summer right around the corner, drawing butterflies just seems like a natural thing to do. After all, butterflies are beautiful and are a great subject to draw for beginners and experienced artists.
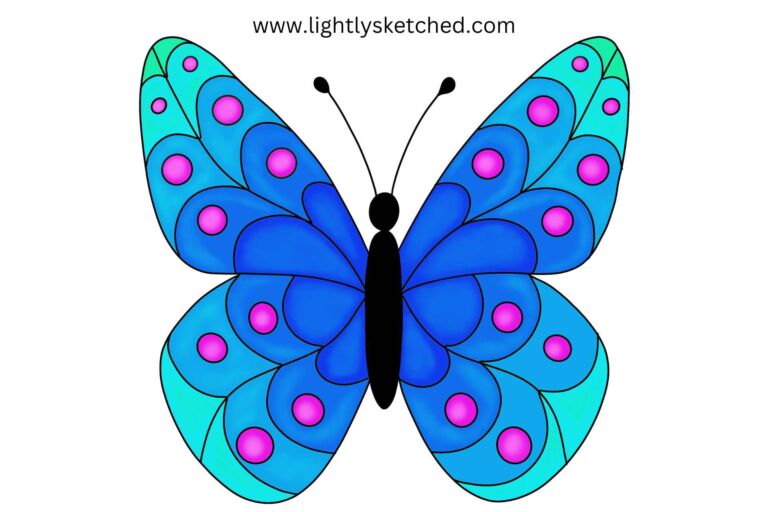
The simple butterfly that you’ll be learning to draw in this tutorial is taken straight from my Butterfly Zentangle Starter Pack. You can add Zentangles® to your completed butterfly drawing, you can color it in, shade it lightly, or make stunning Q-tip art. Your creative options are limitless!
So, whether you’d like to introduce your students to a lesson on symmetry or whether you’d like to engage your children with a drawing lesson on lines and shapes, or maybe you just want to embellish your bullet journals – this tutorial will check all of those boxes and more.
I chose a butterfly that had a fairly simple design, but don’t let that limit you. Please feel free to add additional lines or details to your completed drawing.
Drawing Tips for This Tutorial:
- Since butterflies are symmetrical, I divided my piece of paper into 4 sections to help me create a more balanced drawing. I explain this further in the tutorial below
- I also recommend that you draw your butterfly lightly with pencil and then trace over your drawing with a Micron Pen or Ultra Fine Point Colored Sharpie marker. This will help your butterfly pop!
- Embrace the drawing process! If your butterfly doesn’t look exactly like mine, no worries 🙂 celebrate your drawing anyways and enjoy a few mindful moments as you draw.

This post may contain affiliate links and I may earn a small commission when you click on the links at no additional cost to you. As an Amazon Affiliate, I earn from qualifying purchases. You can read my full disclaimer here.
Mindfulness Drawing
Here are a few quick and easy steps you can take today to add mindfulness to this drawing activity. You can model these steps for your students 🙂
- Sit up straight, relax your shoulders, relax your gaze.
- Take a few deep breaths. You can breathe in for 3 seconds and then breathe out slowly for 3 seconds. Repeat this breathing exercise up to 10 times.
- Pick up your drawing utensil and grip it lightly, relax your arm.
- Think quietly about what you are grateful for in this moment, right now. Some suggestions could be gratitude for the paper or pencil, for clean water, or food to eat, for friends and family. It doesn’t have to be related to the drawing activity.
- Begin the drawing tutorial.
Adding a few mindful moments to this drawing activity will literally take you just a few seconds, but doing so will help you and your students relax and mentally prepare for the activity.
Here are a few other mindfulness activities that you’re going to love:


Our new Zentangle course is here!
Are you trying to find ways to incorporate self-care and creativity into your life? Would you like to introduce the Zentangle Method to your children or students but you’re not sure how?
If you answered yes to any of these questions then you’re going to love our new course. If you haven’t had a chance yet to watch the course overview video, check it out below!
Also, Thank you to all of my amazing readers who watch our YouTube videos, read my posts, and create these art activities. I’m always looking for more artwork to post in our gallery, so if you feel inspired, please email me a pic of your drawings or crafts that you made following one of our tutorials. I truly appreciate you ❤
So, without further ado, here is the drawing tutorial. I really hope that you love drawing this butterfly as much as I did! Have fun 🙂
Step by Step Tutorial
Appropriate for Children Ages 5 and up
Difficulty: Easy
Total Time: 20 minutes
Materials:
- Micron Pens for outlining your butterfly, or you could also use Ultra Fine Point colored Sharpie markers/fine tip markers
- White Cardstock or blank paper (8 1/2 X 11)
- Pencil for drawing
- Markers/pencil crayons etc. for coloring (optional)
- Eraser (optional)

Instructions:
Step 1 – Divide your paper into 4 sections
Position your 8 ½ X 11 piece of paper, so that it’s orientation is landscape. Divide your paper into 4 sections.

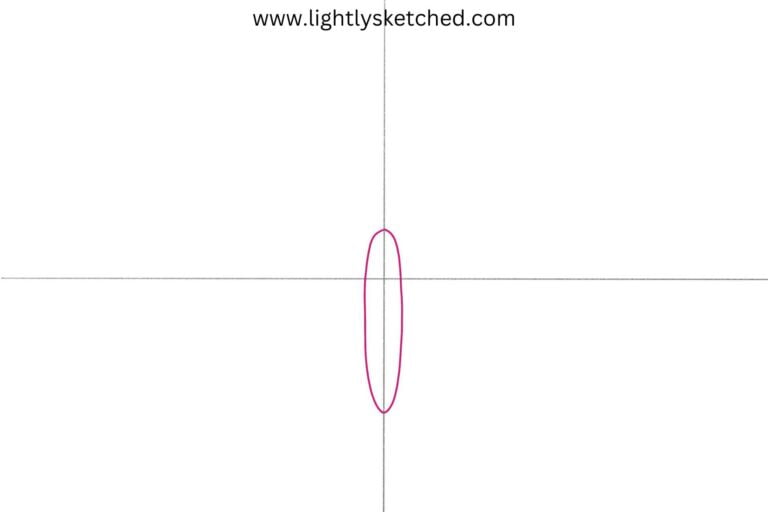
Step 2 – Draw your butterfly’s body
Draw a long oval in the middle of your paper, where the lines intersect. Take a close look at how we positioned our oval.
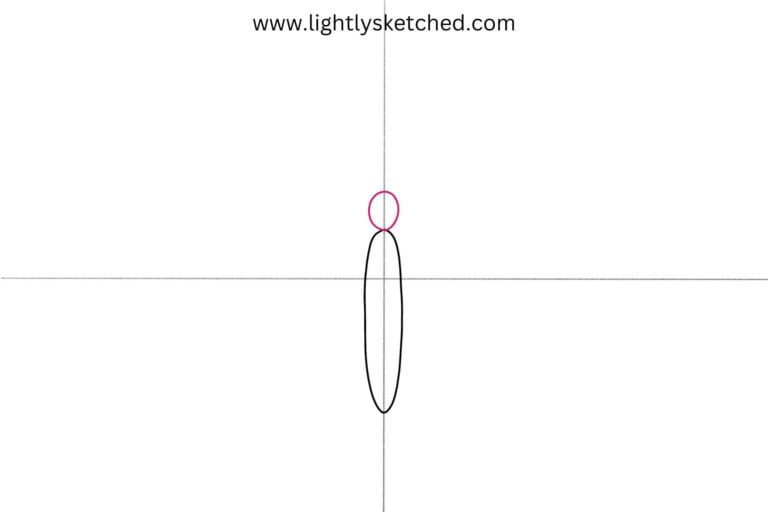
Step 3 - Draw the butterfly's head
Draw a circular shape on top of the oval body that you drew.
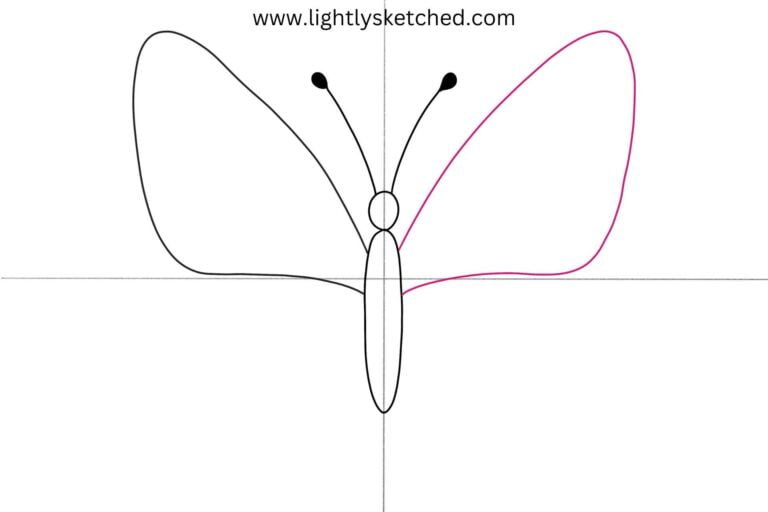
Step 4 - Add the antennae

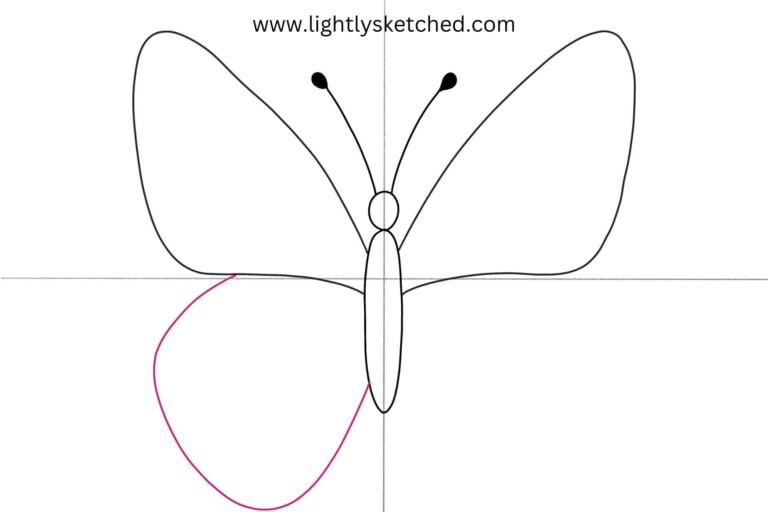
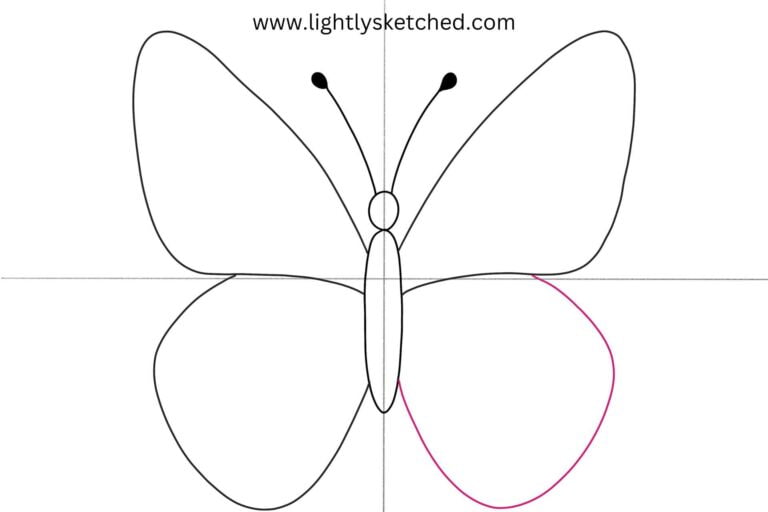
Step 5 – Draw the wings

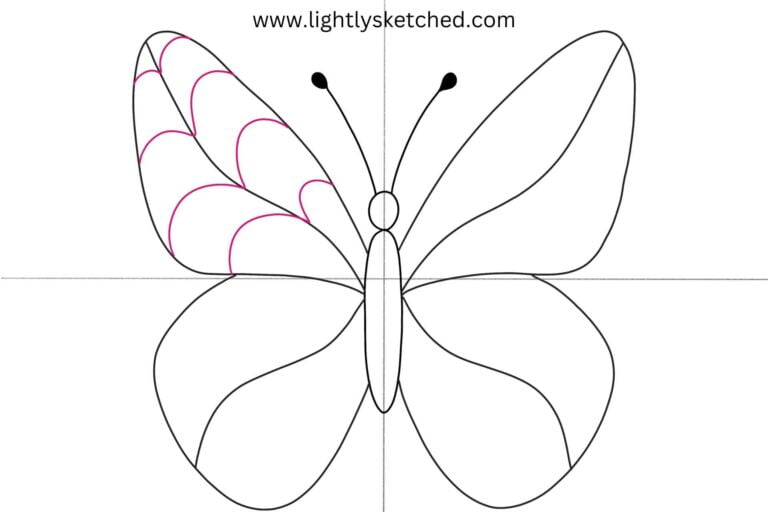
Step 6 – Draw a wavy line through each wing

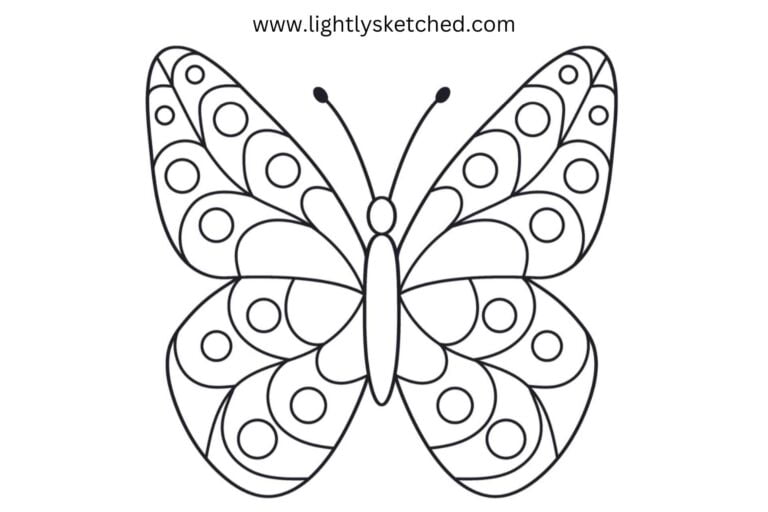
Step 7 – Draw “m” shaped lines in each wing
I drew 4 “m” shaped arches in the top wings and 3 “m” shaped arches in the lower wings.

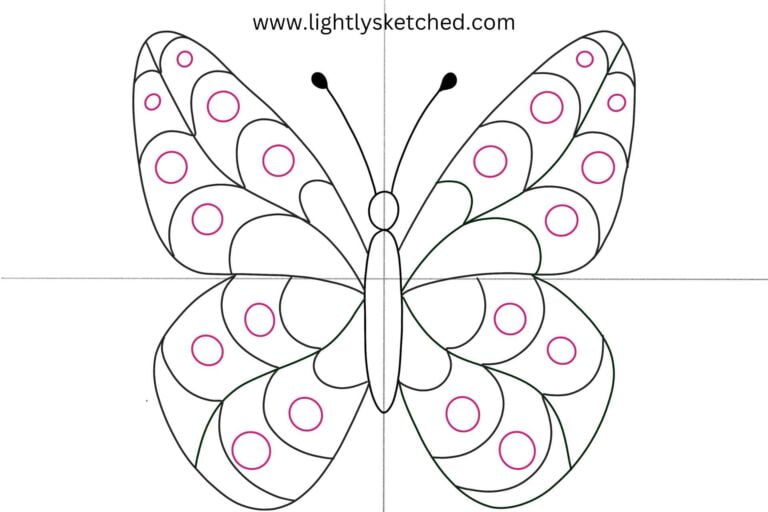
Step 8 - Draw a circle under each arch
I skipped the first row of arches and started drawing my circles in the second row of arches. In the top wings, I drew larger circles in the bigger arches and smaller circles in the smaller arches.

The bottom wings only have 4 circles each and they are all about the same size.
Step 9 – Outline your butterfly using a black micron pen or thin sharpie marker

Step 10 - Erase your pencil lines
Step 11 – Color or add Zentangles (optional)
You can color in your butterly using any media of your choice. pencil crayons, markers and paint are always great choices for kids.
You can also add Zentangle patterns to your butterfly to create stunning details.
Step 12 – Enjoy and share
This simple butterfly drawing makes the perfect gift for Mother’s Day, Teacher’s Appreciation Day or it can be used to compliment your unit on spring. This drawing also looks fabulous on cards!
If you love butterflies, you’ll adore these Custom Coins! Each coin features a beautifully intricate butterfly design, making them a perfect keepsake for nature lovers and art enthusiasts alike. Whether you collect them, use them as tokens of inspiration, or gift them to someone special, these unique coins capture the delicate beauty of butterflies in a truly special way.


If you draw this simple butterfly with your kids or students, please let me know! I’d love to add your creations to our gallery, so upload your photos or send them directly to me at: [email protected] Thank you!
You can also tag us if you post your masterpieces on Instagram or Facebook.
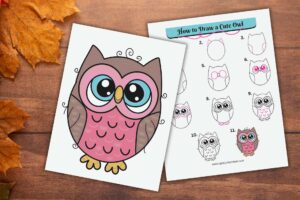
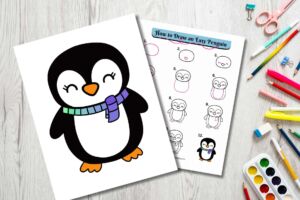
Here are some other drawing tutorials that you’ll want to check out!:
Looking for even more cool activities? You might be interested in our Zentangle Paper Globes. Click HERE or on the image below to learn more.

If you love zentangles as much as we do, you’re going to love our zentangle pyramid activity. Click HERE to check it out or click on the images below.

Final Thoughts
If you’re looking for more activities designed to encourage mindfulness and spark creativity, check out my printable resources below or visit my shop!


Don’t forget to download our free 15 page Mindfulness coloring book to help add a few mindful moments to your child’s day. Just click here or the image below!

2 thoughts on “How to Draw a Simple Butterfly”
Pingback: 31 Cute Craft Ideas - Craftsy Hacks
Pingback: 17 Fun Spring Crafts for Kids -
Comments are closed.