“I sometimes think there is nothing so delightful as drawing.”
- Vincent Van Gogh Tweet
Table of Contents

How to Draw a Pumpkin Easy
Fall is in the air and as we prepare for the transition between the warmer days and the cooler temperatures, we are excited to welcome the seasonal crafts that come along with Autumn. I mean, who doesn’t love drawing pumpkins? If you’ve never had the pleasure of drawing a pumpkin, don’t fret! Our how to draw a pumpkin easy drawing tutorial will remedy that in just a few easy steps.
Whether you consider yourself an artist or whether you have students that are just learning about the drawing process, these directions will show you how to easily draw a pumpkin.
Drawing just isn’t fun, it has many benefits that go a long way in aiding a child’s development as well! Below are 5 awesome benefits of drawing:
")
This post may contain affiliate links and I may earn a small commission when you click on the links at no additional cost to you. As an Amazon Affiliate, I earn from qualifying purchases. You can read my full disclaimer here.
5 Benefits of Drawing

- Drawing develops fine motor skills – drawing helps develop fine motor skills; it helps strengthen the smaller muscles in the hands and fingers, which are essential for writing, drawing and other precise actions.
- Drawing helps improve concentration – usually when a child is drawing, there is an end product. Whether they are drawing a circle or a pumpkin, having an end goal or having to follow instructions can help kids improve their ability to focus.
- Drawing helps in the development of hand-eye coordination – Kids Country Inc. states that, “drawing enables your child to draw connections between what he or she sees and what he or she does.” Developing this hand-eye coordination skill is important in many situations including athletics and in learning environments.
- Drawing increases confidence – kids love to share their masterpieces! When we show an interest in their drawings and display them proudly, it makes them feel important and confident in their abilities.
- Drawing improves problem solving skills – drawing and using diagrams, such as mindmaps, can help students improve their problem-solving skills. As well, when students are faced with a challenge while drawing, they can find creative solutions to complete the task.
5 Cool Facts About Pumpkins

Pumpkins are so cool! Check out these 5 incredible facts.
- Pumpkins are technically a fruit – Pumpkins are members of the gourd family, including cucumbers, cantaloupe, zucchini, and melons. Crazy right?!
- Each pumpkin has about 500 seeds.
- The world’s heaviest pumpkin weighed over 2600 pounds (it was grown in Germany).
- Pumpkins are 90% water.
- The first known use of the word pumpkin in literature was in the story of Cinderella.
Uplevel Your Pumpkins with Zentangles
Do you want to take your pumpkins to another level? Add zentangles!
Zentangles are known to induce relaxation and reduce anxiety levels in both children and adults. Adding simple beginner zentangles to your pumpkins can be a calming activity that also produces beautiful results. To explore more about the amazing benefits of zentangles, or to learn how to draw these simple line designs, check out these blog posts:

Drawing a pumpkin can be easier than it looks! Just follow our simple steps below!
How to Draw a Pumpkin Easy (Drawing Tutorial)
Materials
Pencil
Eraser
Paper
Coloring materials such as markers, pencil crayons, pastels etc.
Our Pumpkin Drawing Guide – Optional
Zentangle patterns (included in our Pumpkin Drawing Guide) – Optional
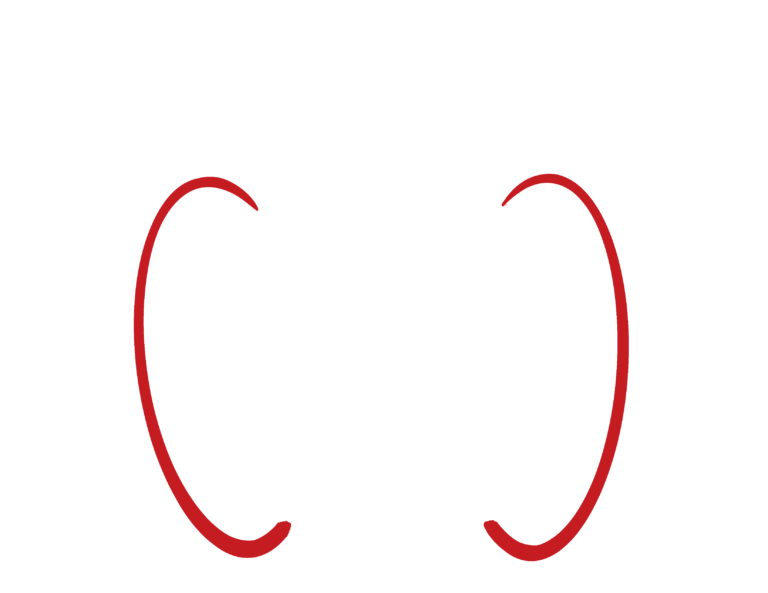
Step 1 - Start by drawing two curved lines
Make a letter C on the left and a backwards C on the right.
Step 2 - Connect the end points on the top and bottom by drawing a few arches.
The more arches you draw, the more sections your pumpkin will have. Draw the same number of arches at the top and bottom. We drew 3 arches in our tutorial between the endpoints (3 on top and 3 on the bottom).

Step 3 - Draw curved lines.
Looking at the middle arch on top and on the bottom, draw two curved lines to make the first section of your pumpkin. This one can be a bit wider.

Step 4 - Draw 2 more curved lines.

Step 5 - From the middle arch, draw two curved lines for the stem.
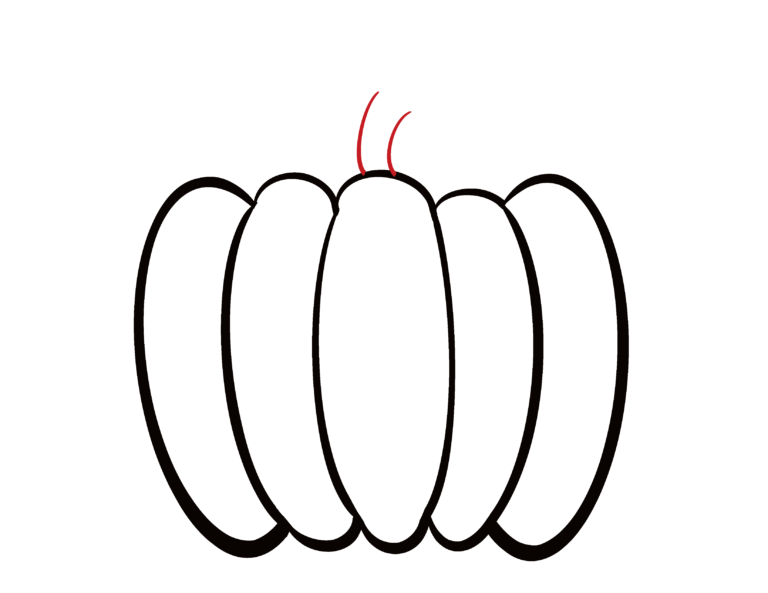
Step 6 - Draw a circle on top of the stem to complete it.

Step 7 - Add an arched line on the left and right.

Step 8 - Draw a vine.
Your pumpkin is now complete! If you’d like to add more detail to your pumpkin, proceed to step 9 onwards.

Step 9 - Add Highlights and Shadows (optional).
If you’d like your pumpkin to have a glossy look, you might want to add some highlights to indicate that light is reflecting off of it. Drawing highlights (shapes at the top) and shadows (shapes at the bottom) will give your pumpkin a 3D feel when it’s complete.

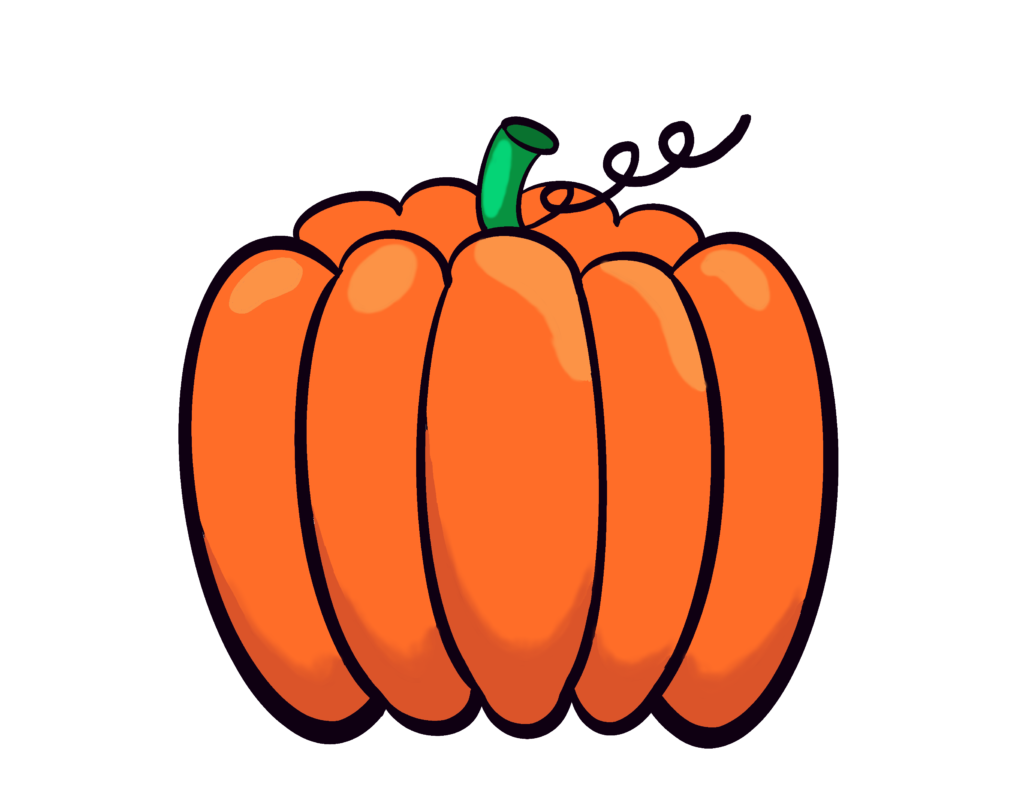
Step 10 - Color your Pumpkin (optional).
Using a color media of your choice, color in your pumpkin! Pay close attention to the highlights and shadows that you drew in the previous steps. If you’re coloring your pumpkin orange, the highlights should be a lighter shade of orange, compared to the shade you used for the majority of your pumpkin. The shadows on the pumpkin should be a darker shade of orange. You can encourage your students to make their pumpkins interesting and special. They can color it yellow, red, green or rainbow.

Step 11- Zentangle (optional)
As an extension, you can add zentangles to your pumpkins! We used several zentangle patterns from our printable to complete ours. If you’d like to learn how to create these zentangle patterns, you can watch our YouTube video, which will show you how.
When you download a free printable copy of our pumpkin drawing guide, I’ll also send you a copy of our 15 zentangle patterns, so you can experiment with tangling too. Just click HERE or on the image below, to download both printables.
Drawing can sometimes be an intimidating process for kids, below are a few tips to encourage our young artists.

How to Encourage Kids to Draw
- Provide sketchbooks, art journals, and paper that they can regularly access.
- Show that you enjoy drawing too!
- Focus on the process of drawing, not the final product.
- Demonstrate interest by commenting on the lines, shapes and colors the child has used, and ask them what they are going to draw next to encourage your child to add more details and imagination to their artwork.
- Display artwork and drawings at child’s eye level, so they can appreciate and see their work.
- Avoid comparing children’s artwork, or harsh criticism.
- Turn your child’s drawing into a memorable keepsake.
Custom Award Medals are a great way to recognize and celebrate your child’s efforts in drawing.
You can engrave the medal with your child’s name, the title of their work, or some special words of encouragement. These medals are not only shiny keepsakes, but also symbols of achievement. When children receive custom medals, they will feel extra special and inspired to continue exploring their artistic talents.
So, consider incorporating these custom award medals into your activities to encourage your child to draw, and watch their creativity soar!


Final Thoughts
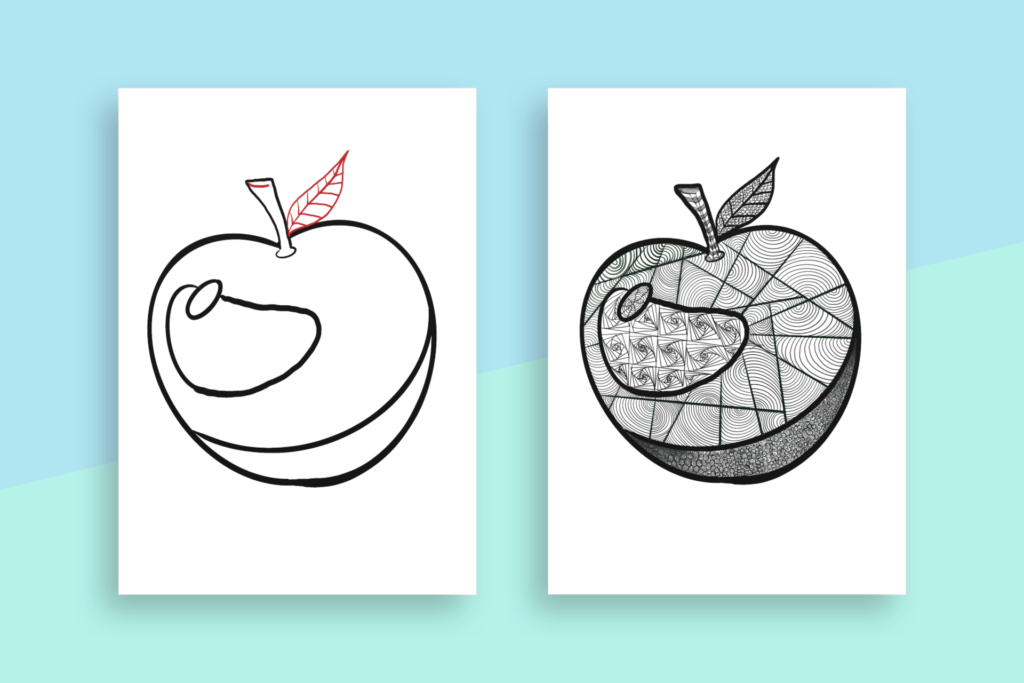
If you enjoyed this pumpkin drawing tutorial, you might also be interested in learning how to draw a simple butterfly or our Apple drawing guide. Check it out and learn how you can add mindfulness to your drawing activities.
You might also like:

If you try this drawing tutorial, please let me know! I’d love to add your creations to our gallery, so upload your photos or send them directly to me at: [email protected] Thank you!
Don’t forget to download our FREE 15 page Mindfulness coloring book to help add a few mindful moments to your child’s day. Just click here or the image below!