
We can’t wait to show you how to make galaxy slime with essential oils! I am proud to say that I have been a slime mom since the moment we made our first batch several years ago. I think I was more excited than my daughters were, and I continued to play with it long after they did. Playing with slime brought me back to my childhood and reminded me of the ectoplasm that came with my Ghostbusters figurines. So, when the slime craze hit a few years ago, we were all over it. Chloé also has a particular soft spot for slime, so we’ve tried countless recipes, many of which we’ll be featuring here on our website.
I’ve also included 3 additional super cool glitter slime recipes at the end of this post, so be sure to check those out too! All of our recipes on this page do not contain borax.
The process of creating slime can seem daunting at first, but the recipe that we’ve created for you below has repeatedly brought us success. You can take our simple slime recipe and transform it into any kind of slime you can think of by adding food colouring, gems, dinosaurs or any other small objects that your children would like to experiment with. Besides being extremely fun to squish and poke, creating and playing with slime has several benefits as well. You can take any slime recipe to the next level by simply adding essential oils.
This post may contain affiliate links and I may earn a small commission when you click on the links at no additional cost to you. As an Amazon Affiliate, I earn from qualifying purchases. You can read my full disclaimer here.
The Magic of Essential Oils

Incorporating essential oils into your child’s self-care regimen and playtime has countless benefits including it’s ability to reduce headaches, diminish stress levels and aid in the quality of sleep. Essential oils are predominantly used in the pseudoscience, aromatherapy, which has been known to improve psychological and physical well-being.
Related: How to Draw a Calming Mandala Step by Step – Free Templates
Aromatherapy is particularly effective because it triggers the sense of smell, which is deeply connected to our experiences and feelings. Have you ever smelt a particular fragrance that took you back to a specific memory and moment in time. The smell of Ivory detergent still reminds me of when my girls were babies. The reason for this dwells in the fact that the olfactory bulb, which filters your smells, connects to your hippocampus and amygdala. Both of these parts of your brain are “responsible for your memories and feelings, which is why scent can be so powerful” [1]. For a more detailed explanation of the numerous mental health benefits of using essential oils, you can take a look at this blog post where Chloé and I use essential oils in splatter painting.
We love incorporating essential oils into our arts and crafts whenever possible because doing so immediately gives our creative process a calming effect. Infusing essential oils (such as lavender or abyssinian oil) into our slime is also the perfect, yet subtle way to get our kids to experience the emotional benefits of each oil. Chanel has a diffuser in her room that she uses on a regular basis to help her sleep better at night and she thoroughly enjoys incorporating these fragrances into her artistic creations.
Below I’ve included a few of the wonderful qualities of the essential oils that we used in today’s slime recipe.
Lavender (blue slime) – this lightly fragranced essential oil is extremely popular because of its versatility. Lavender can be used topically to soothe mild skin irritations because it cleanses and nourishes. This essential oil can also induce relaxation and reduce stress levels. A few drops is all it takes to experience it’s calming benefits.
Calm (pink slime) – We used a few drops of the Bursera Calm essential oil blend. This is definitely one of my favourite blends! It contains lavender, orange, cedar, and ylang ylang oils. Similar to lavender, this essential oil blend promotes relaxation and creates feelings of peace and well-being [2]. I particularly like the Bursera brand because a tree gets planted with every order!
Jasmine (purple slime) – Jasmine oil has a beautiful floral fragrance. According to the Journal of Health Research, inhaling jasmine oil can promote a sense of well-being [3]. Unlike some other essential oils used for anxiety, jasmine oil is thought to calm the nervous system without causing sleepiness. This essential oil was the perfect addition to our purple slime.
Here are some of our other favorite essential oils that you might consider adding to your slime: Joy, Stress Away, Lemongrass, Peace and Calming, White Angelica, Frankincense. All are safe to use with children in small quantities (4-6 drops per batch).
Related: DIY Sensory Bottles – Mindfulness Tool
Here’s our YouTube video that will show you, step by step, how to create this gooey, glittery, galaxy slime.
Prep Time: 5 minutes
Appropriate for children over the age of 3.
For today’s galaxy slime you’ll need:
- Measuring cup
- Measuring spoons
- Elmer’s glitter glue (blue, purple, and pink)
- Elmer’s Magical Liquid
- Essential Oils (lavender, calm, and jasmine or any oils of your choice)
- Large bowl
- Glitter (optional)
- Mixing spoon
- Airtight container or ziploc bag for storage
*I avoid using borax or liquid starch in our slime recipes. My go to is Elmer’s Magical Liquid or baking soda and contact solution. You can substitute the Elmer’s Magical Liquid in this recipe with a mixture of 1 tsp of baking soda and 3 tablespoons of contact solution. Add the mixture 1 tsp at a time, instead of the Elmer’s Magical Liquid, gradually stirring after adding each spoonful.*
Step 1 – Prepare your materials
- Get all of your materials ready.

Step 2 – Pour Your Glue
- Empty the entire bottle of glitter glue into your mixing bowl.

Step 3 – Add Your Essential Oils
- For the blue slime that Chloé is making, we added 6 drops of lavender, but you can add more or less depending on your personal preference.
- Stir

Step 4 – Add Your Glitter (Go Crazy!)
- My girls literally put glitter on everything, so if the elmers glitter glue isn’t quite glittery enough, you can add additional glitter.
- Chloé added approximately 3 tsps of blue glitter to our glue mixture.
- Mix well

Step 5 – Add Elmer’s Magical Liquid
- Gradually add 2 teaspoons at a time of the Elmer’s Magical Liquid to your mixture until you are happy with the consistency. We added approximately 12 teaspoons or ¼ cup gradually, stirring steadily.


Step 6 – Knead
- Remove the slime from the bowl and knead until smooth.
TIP: Add a little bit of Elmer’s magical liquid to your hands before removing the slime from the bowl. This will prevent the slime from sticking to your hands while you knead.


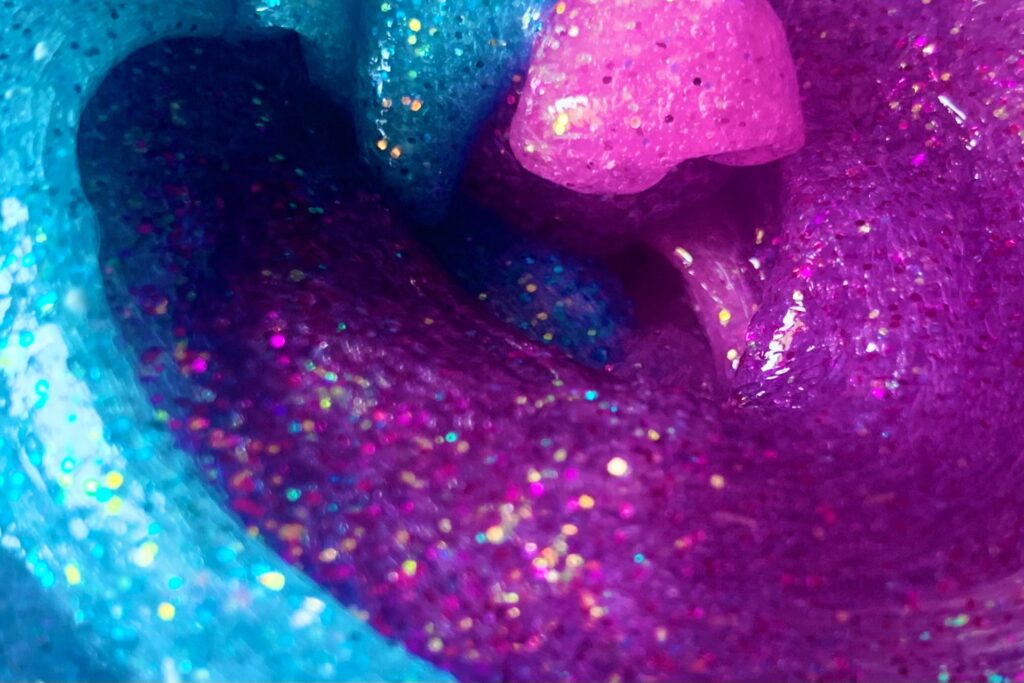
Step 8 – Mix Your Slime to Create Galaxy Slime
- You can combine all three colours together to create a fragrant galaxy effect.

Step 9 – Have Fun!
*Don’t forget to thoroughly wash your hands after playing with your slime.*

Storage
You can extend the longevity of your slime if you store it in an airtight reusable container (plastic or glass). Ziploc bags are also effective at keeping your slime soft and stretchy for several weeks. Just try to remove as much air as possible from the ziploc bag before you seal it. The fragrance of the essential oils will also endure throughout the life of your slime, which will give your kids lots of time to experience their benefits through play. If you keep your slime clean, and store it properly, it can last for weeks!
Clean Up – How to get Slime out of…
I’ve been making slime for years at home, birthday parties, at school etc. and one of the questions that always seems to come up is, “how do I get slime out of…”(fill in the blank). We’ve gotten slime on everything from carpets, to clothing, even linen. Hair is a popular slime magnet in my house. Through my experience, the number one slime remover is Dawn dish soap. I usually apply a small amount to the area and rub gently, then rinse (or throw it in the washing machine). This method is most effective when done over a sink under luke-warm running water. If that’s not possible, you can gently rub the area with Dawn until the slime starts to dissolve.
Vinegar is also an effective method for removing slime but might require a little bit more elbow grease. Applying the vinegar and allowing it to soak for a few minutes will help loosen the slime. Once you’ve allowed the vinegar to soak, you can use a soft-bristled scrubbing brush on the surface to remove the slime.
Either of these methods can be used to remove slime from hair as well!
More Slime Recipes
Here are a few more simple slime recipes using Elmer’s glitter glue and Elmer’s magical liquid that you’ll love creating!
Golden Pirate Treasure Slime

Photo Credit: www.funathomewithkids.com
For this slime activity you’ll need:
- Approximately ¼ cup Elmer’s Magical Liquid
- Elmer’s gold glitter glue
- Gold glitter/gold sequins/coins (optional)
- Large bowl
- Mixing utensil
- Measuring cup
- Measuring spoons
- Air tight container/ziploc bag
Directions:
- Empty the entire contents of your Elmer’s gold glitter glue into your mixing bowl.
- Add your gold glitter or sequins. You can add at least 1 teaspoon of each – stir. Feel free to add other types of pirate treasure, like gold coins to your slime.
- Next add 2 teaspoons of your Elmer’s magical liquid to your glue and glitter mixture – stir well.
- Gradually add 2 teaspoons at a time of the Elmer’s magical liquid to your mixture until you are happy with the consistency.
- Remove the slime from the bowl and knead until smooth.
- Store in an airtight container.
- Have fun!
TIP: You’ll need to add approximately 12 teaspoons or a ¼ cup of the magical liquid to get your mixture to nice stretchy and gooey consistency.
Hulk Glitter Slime

Photo Credit: www.seevanessacraft.com
For this slime activity you’ll need:
- Approximately ¼ cup Elmer’s Magical Liquid
- Elmer’s green glitter glue
- Green and gold glitter (optional)
- Large bowl
- Mixing utensil
- Measuring cup
- Measuring spoon
- Airtight container/ziploc bag
Directions:
- Empty the entire contents of your Elmer’s green glitter glue into your mixing bowl.
- Add your gold and green glitter – stir. You can add at least 1 teaspoon of each colour.
- Next add 2 teaspoons of your Elmer’s magical liquid to your glue and glitter mixture.
- Gradually add 2 teaspoons at a time of the Elmer’s magical liquid to your mixture until you are happy with the consistency.
- Remove the slime from the bowl and knead until smooth.
- Store in an airtight container.
- Have fun!
TIP: You’ll need to add approximately 12 teaspoons or a ¼ cup of the magical liquid to get your mixture to nice stretchy and gooey consistency.
Mermaid Glitter Slime

Photo Credit: www.thebestideasforkids.com
For this slime activity you’ll need:
- Approximately ¼ cup Elmer’s Magical Liquid
- Elmer’s green glitter glue
- Elmer’s blue glitter glue
- Peacock mix chunky glitter or you can use silver, and shades of blue glitter
- Large bowl
- Mixing utensil
- Measuring spoon
- Measuring cup
- Airtight container/ziploc bag
Directions:
- Empty the entire contents of your Elmer’s green and blue glitter glue into your mixing bowl. Stir well to combine the colours.
- Add your glitter! You can add at least 2 teaspoons of the chunky glitter or a good amount of each mermaid colour glitter that you have available (blues and silvers).
- Begin by adding 2 teaspoons of your Elmer’s magical liquid to your glue and glitter mixture.
- Gradually add 2 teaspoons at a time of the Elmer’s magical liquid to your mixture until you are happy with the consistency.
- Remove the slime from the bowl and knead until smooth.
- Store in an airtight container.
- Have fun!
TIP: You’ll need to add approximately 12 teaspoons or a ¼ cup of the magical liquid to get your mixture to nice stretchy and gooey consistency.
I hope that you have fun with these slime recipes! I’d love to hear from you. Send me your questions, comments, or ideas for any art activities that you’d like me to create. Please let me know how your slime turns out!
References:
“Health Benefits of Essential Oils.” www.piedmont.org, www.piedmont.org/living-better/health-benefits-of-essential-oils. Accessed 11 Apr. 2021.
McDermott, Annette. “Try This: 18 Essential Oils for Anxiety.” Healthline, Healthline Media, 26 Sept. 2016, www.healthline.com/health/anxiety/essential-oils-for-anxiety.
“(PDF) the Effects of Jasmine Oil Inhalation on Brain Wave Activities and Emotions.” ResearchGate, www.researchgate.net/publication/236235613_The_effects_of_jasmine_Oil_inhalation_on_brain_wave_activies_and_emotions. Accessed 11 Apr. 2021.
2 thoughts on “How to Make Galaxy Slime (with essential oils)”
That is seriously cool stuff! Where was this when I was a kid?! Thanks for the great idea.
Thank you! I totally agree, where was this stuff? Glad I can enjoy it now with my kids and students.
Comments are closed.